Divinity: Original Sin 2 Acts
Tips Before Playing. One major thing you must consider before playing the game is whether or not "you" will be an origin character. Planning ahead becomes the utmost importance if you decide to go multiplayer or have fewer companions (with the help of the "Lone Wolf" ability). Otherwise you could choose to customize a character (like I did) that would compliment who you might want to be on a more personal level. Although there are tons of different ways to evolve the story, it would be a good idea to attempt every available quest just so you can remain on level with your enemies. I've used this guide to help find the appropriate areas for each level (Warning: Reveals Map). Though you can always use the wiki's quick-and-dirty walkthrough, Game Pressure's picture-filled quest guide, or Guides 4 Gamers' Map Guide (IGN's walkthrough was worthless). Your "tags" are pretty much permanent. Though there is one particular item you can obtain near the end of the game that provides the "Noble" tag. "Pet Pal" is extremely recommended. Nearly every civil ability needs to be maxed out. Your leader should have "Persuasion" and only one character needs to level "Lucky Charm" (since Patch 3.0.1). Having a character with "Loremaster" or "Thievery" maxed out can also be beneficial.
Act 1: Introductions. You can be rather flexible in the early levels of the game. Don't worry too much about your equipment and focus on getting more acquainted with your abilities. "Reapers Eye" gives you enough wiggle room to get up to level 8. There are many difficult encounters that can be initially skipped until you feel ready for it. Sending items "to wares" will remove them from your standard categories and instantly be added to merchant lists with a simple click of a button. Be sure to raise merchant's attitudes by giving items (or even a large stack of gold) if you plan to continue using them. +20 "Attitude" is proportion to +1 "Barter" and can help exchange rates for the character that engaged the conversation only. You can now insert runes into certain items. Pressing insert and gear will automatically retrieve a list of items to choose from without searching through your bags. Using a "bedroll" is a quick-and-easy way to heal all party members. Do everything you can to escape with the black cat, which includes avoiding the archers guarding the castle. Having a character with at least 15 Wits can help find hidden items buried in the sand or within certain encounters. I suggest collecting every painting you can carry (for fun) and crafting books (especially the Crafting Bibles). One very important thing to note is that you will not be able to switch to the other origin characters at the end of Act 1. So choose your companions wisely. A couple things I wished I knew in the final encounter of Act 1 was that the bodies disappear (so loot them in combat when you can) and your ultimate goal is to keep your captain alive (not kill all enemies). Time: 30 hours
Act 2: Core Game. Now that you have The Lady of Vengeance statistics, cosmetics, skills, and civil abilities can be changed at any time. You can also right click on items and send them to a storage chest. Decorate it as you see fit and it won't disappear. There will be a child by the name of Han that will gather items for you. He will automatically retrieve whatever item you ask upon reaching a new level (I suggest Source Orbs at level 13). Kill the chicken. If you do insist on seeing through with keeping the chicken safe, I suggest making that quest number one priority. Get to the town of Driftwood when you can and get familiar with everything in it before venturing further (like the Crafting Bible in the Innkeeper's Safe behind the counter at the Black Bull Tavern) There is a quest called Love Has a Price that destroyed all immersion I had for the game. I suggest reading up on that quest before attempting it. Wishful Thinking and Web of Desire are two more quests you might want to research before attempting. When you visit Stonegarden, be sure to talk to the Condor first before looting any bodies and you may be in for a treat. After Driftwood, the game kind of allows you to choose which area you want to explore first with the outer stretches of the map being more geared towards levels 14 and 15. Though it is entirely possible to leave "Reapers Coast" without obtaining additional source, it is recommended to learn two more source points (the maximum) from any of the 7 possible trainers. It would be wise to utilize flags on the general map for things like beehives (for honey) or spinning wheels (for thread). Things like milk churns and water barrels could be transported back to your base. I suggest being at least level 15 and fully equipped with all available skills. One skill tree should be at least level 10 (Suggest one character have 10 in Summoning). Time: 70 hours.
Act 3: Climax There is a bit of a letdown that this section can be completed rather quickly by accessing the secret tunnels in the far corner of the map. I actually found these tunnels within an hour of exploring the island. This entirely nullifies visiting any of the faction leaders or activating the altars. Ironically, you can pretty much destroy everything on the island without any heavy consequences. I cannot confirm whether or not using the proper race at each altar will prevent you from gaining any of the nasty debuffs (Permanant blindness, Endless burning, -2 Constitution). I suggest using the intervention dialogue option when needed. Time: 10 hours.
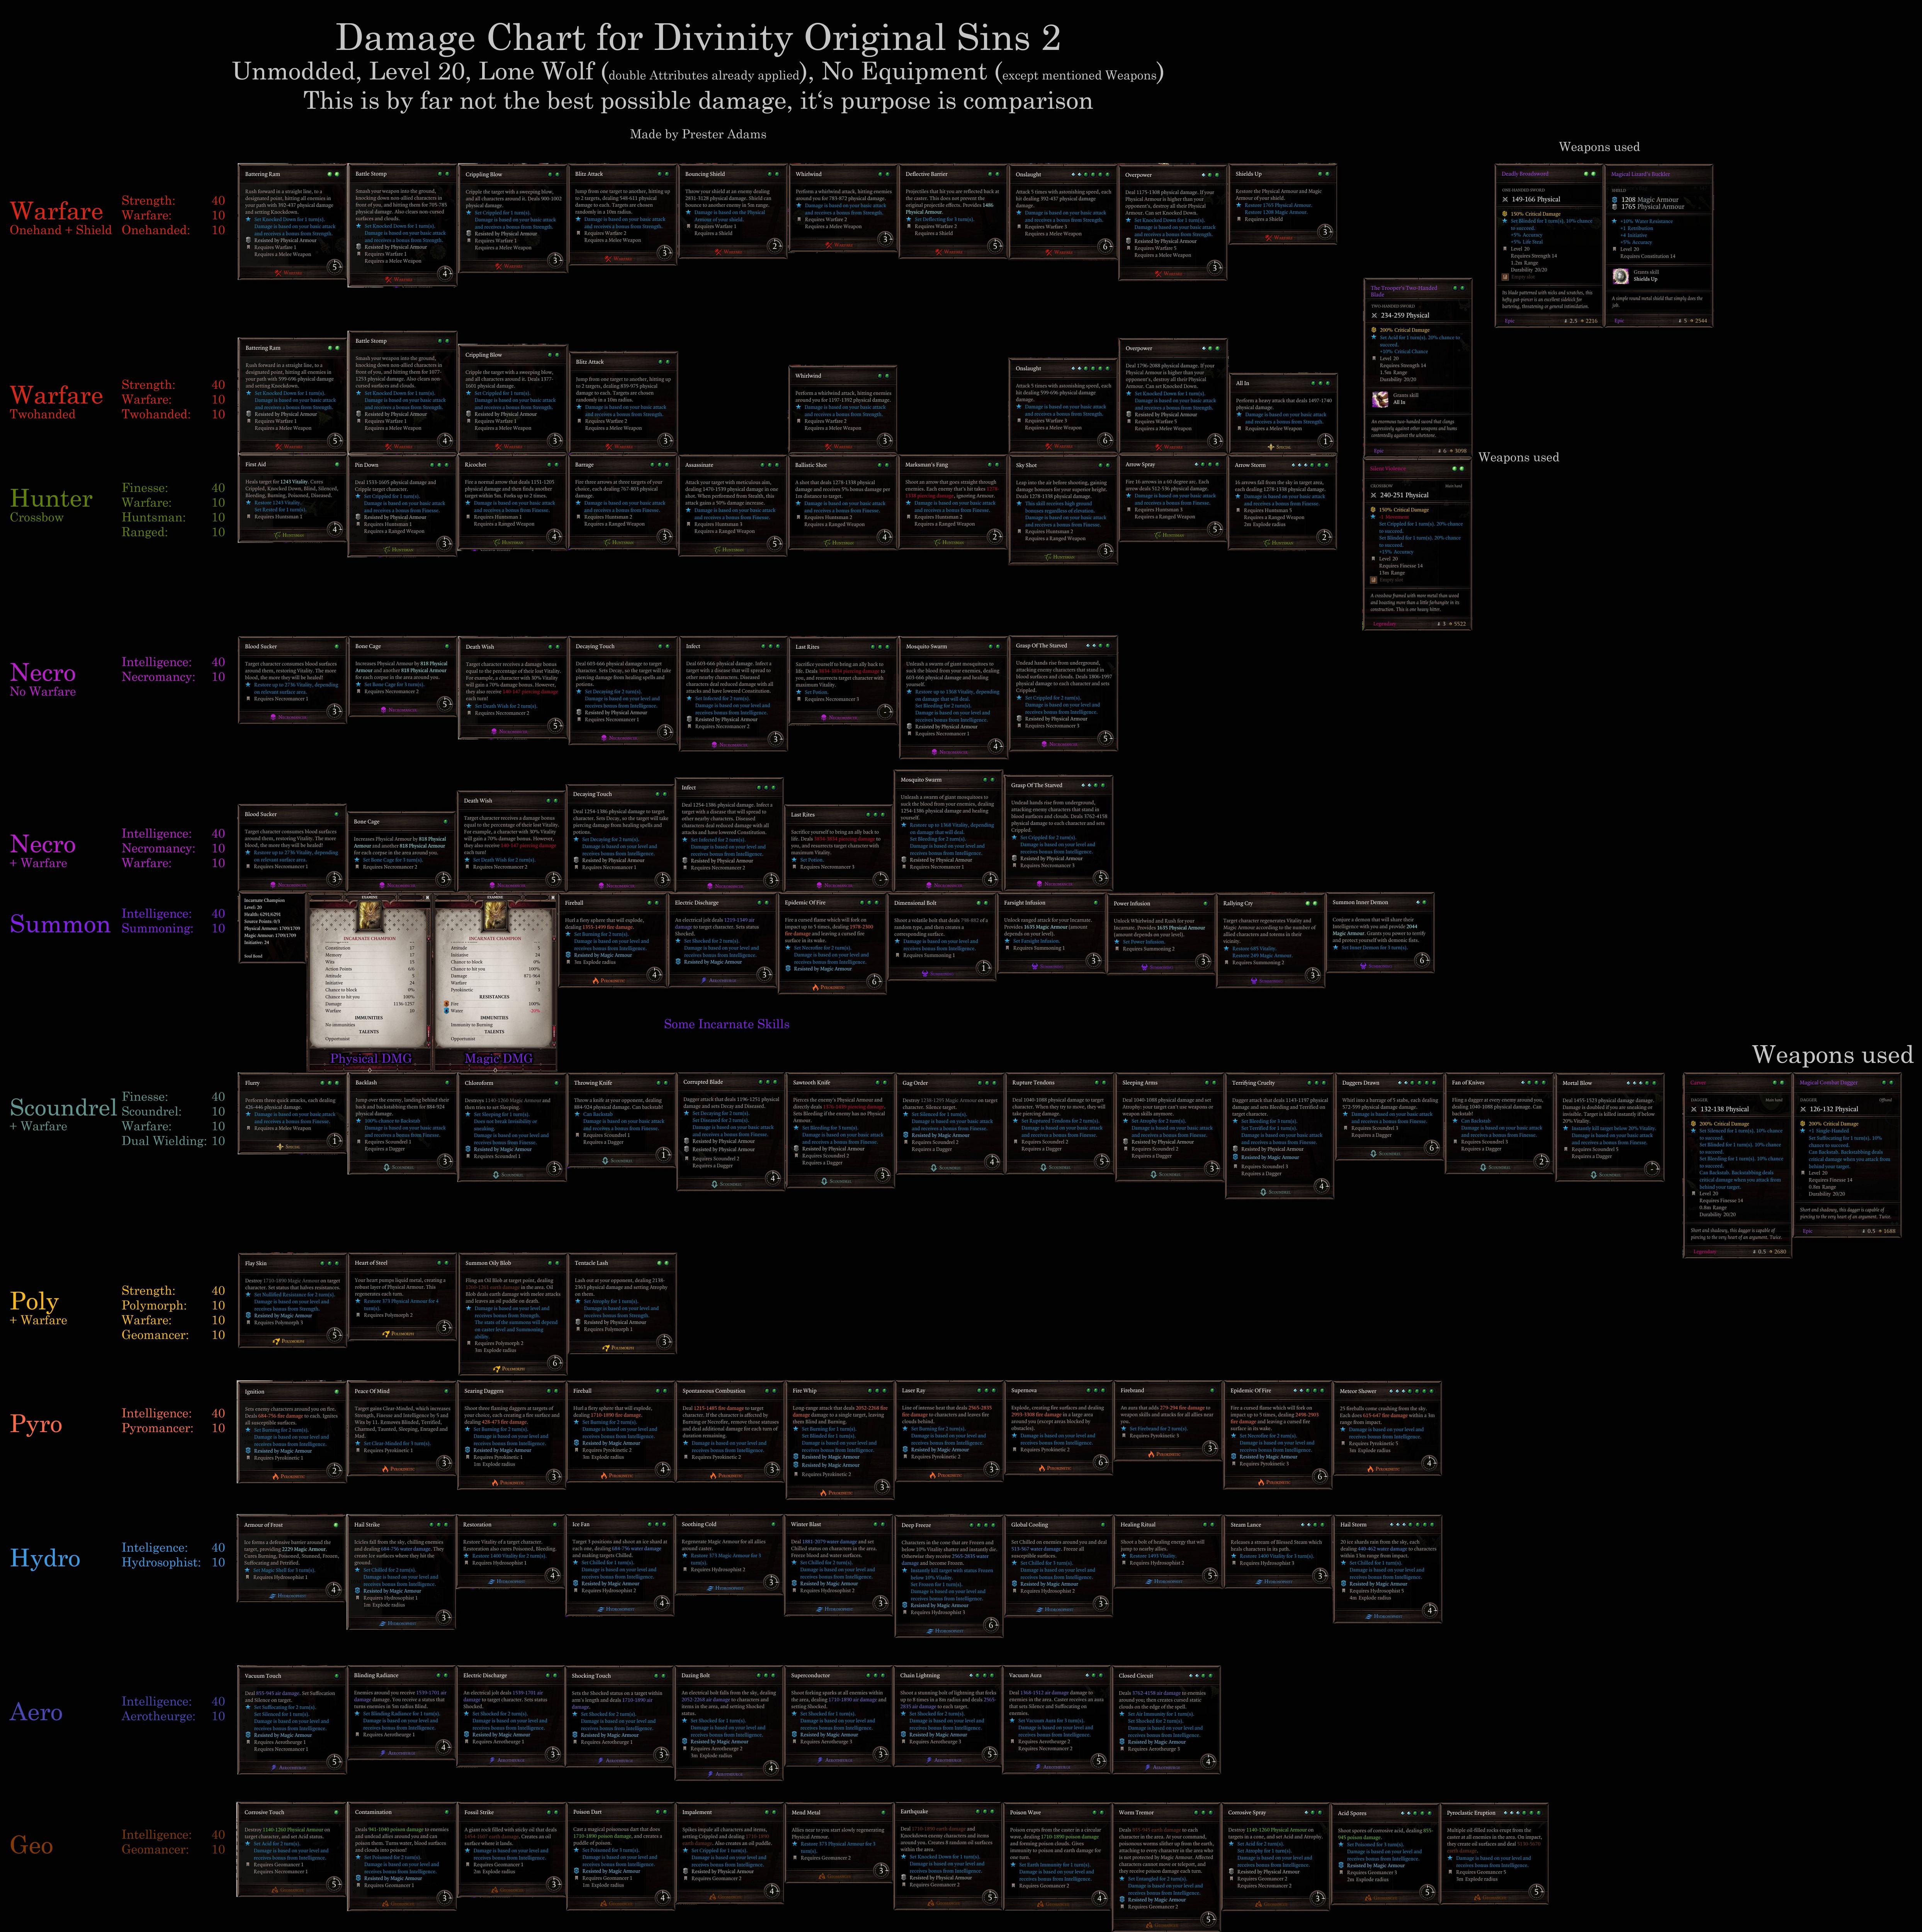
Act 4: Resolution The developers spent some time fixing up the final act in time for the Definitive Edition release. Many people say that there were a lot of bugs, unfinished content, and odd placeholders upon release. I adore the fact that now the quests sort of overlap each other in the city. Sadly, I found myself ultimately confused by what my objective was in many of the quests. Hermit's Hideaway is marked level 20 but is the first area you can visit. I skipped this encounter and never bothered coming back to it. I actually avoided the Kraken at the harbour because the unique nature of the fight made me believe I should have went into the city first despite it being only level 18. I only learned later that the so-called surprise in Kremm's garden never occurred because I went through the sewers first. I equipped the Noble Hat to talk to the "Tea Lady" so I could buy special herbs that reduced the cost of your skills by 2AP (Since you can only use one of the three tea buffs at a time it is the only one that you should use). Be prepared for much more difficult battles. On one-hand I assume they want you using those awesome abilities that require 3-source points. On the other, I think it is because they assumed you had the best equipment in the game. There are quite a bit of new items you can buy with unique properties that make the game more interesting. The unarmed elf in the middle of the map sells items that provide the highest tier of skills. The lizard seeking shelter in Kemm's mansion sells a unique staff that stacks Flaming Crescendo on an enemy. Even with the best gear I, like many others, found themselves still dying from the paladin's preemptive strike in Kemm's Vault. Then there's a problem with your skills. Some skills still felt rather unbalanced to me. My sword-and-board character had a standard attack of 550 and my abilities ranged from 200 to 500 damage but my bouncing shield does 2000 damage to 2 targets from a distance (high ground damage also applies) with a cooldown less than every other ability. My grenades were doing a measly 100 to 300 damage when a simple fireball scroll was doing 350 damage. At least the elemental trees were consistent. Also, you really need to pay attention what buff whats like how warfare buffs physical damage only or that strength doesn't increase the damage of spears since they are technically finesse weapons. I'm not going to attempt to explain the horror of the The Consulate quest. Time: 30 hours.
Ending: There was a certain point where you entered a secretive realm where you could weaken an enemy by making a very immoral choice. When you finally encounter The Doctor, there is a lot of things that could happen. From the wide-range of reports I've read online, it seems that the encounter has been changed multiple times. The stupid thing that happened in my run was that the guy becomes invulnerable after three rounds. I got very angry and decided to cheese my way to victory. Using Fiery Inferno + Onslaught + Adrenaline + Apotheosis Scroll + Skin Graft + Green Tea (and a whole lot of other buffs), I applied a minimum of 15 explosions, pretty much killing him instantly. Afterwards Lohse was so grateful that I was rewarded with the most beautiful song and dance routine I've ever seen. That right there is where my game should have ended. Instead, I had to slog through another 30 minutes of weird puzzles and a final encounter that was rendered trivial with the choices I made. I was given three choices - all of which had awful conclusions! Like I was really going to listen to a guy who talked about making a sacrifice when everything was his fault! Still, I love the game to death despite all its flaws. Total Time: 140 hours.
4-20-2019